
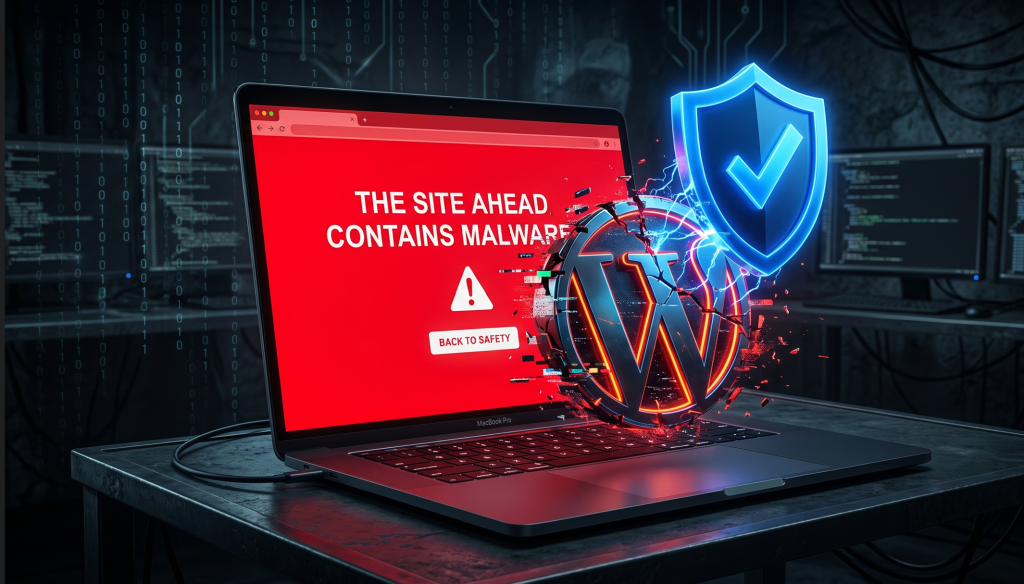
Few events strike fear into the heart of an organization quite like the Red Screen of Death. You launch your browser, head to your domain, and instead of your high-converting homepage, you are hit with a crimson wall and a warning: The site ahead contains malware or Deceptive site ahead.
This isn’t a minor visual bug or a temporary hosting hiccup. It is an immediate digital quarantine imposed by Google Safe Browsing to protect users from malicious activity. For enterprise platforms, e-commerce stores, and digital agencies, this red flag acts as a business bottleneck—instantly blocking up to 95% of your incoming traffic, tanking user trust, and threatening your organic Search Authority.
When Google flags your site, it means its automated crawlers have detected code patterns associated with malware downloads, phishing scripts, or unauthorized database mutations.
At WordPressDepartment.com, we view a security compromise through the lens of Forensic Engineering. Resolving this crisis requires moving past temporary patches and executing a structured Cyber Incident Response that sanitizes your site files and completely satisfies Google’s strict security requirements.
Here is our step-by-step technical guide to clearing the red warning screen and restoring your platform’s operational sovereignty.
1. Check Your Google Safe Browsing Status
Before touching a single file on your server, you must determine exactly why Google flagged your domain. Gathering this telemetry ensures you target the root cause of the hack rather than chasing symptoms.
A. Run a Safe Browsing Diagnosis
Navigate to the official Google Safe Browsing Site Status Page and enter your exact domain. This free diagnostic portal confirms whether your site is flagged for malware distribution, social engineering elements, or deceptive redirects.
B. Extract the Threat Report via Google Search Console
Log into your Google Search Console dashboard and head to Security & Manual Actions → Security Issues. This interface provides details on the compromise, including:
- Specific paths or files hosting malicious payloads (e.g., modified .php assets or scripts hidden within your /uploads/ directory).
- Sample URLs that triggered the automated security flags.
- The specific nature of the threat, categorized as harmful downloads, billing fraud, or deceptive user patterns.
2. The Clean-Room Sanitization Protocol
Once you have identified the threat vectors, you must thoroughly sanitize your site files. Relying on basic “one-click” malware deletion tools often fails because they miss hidden backdoors, leading to a recurring infection that can cause permanent de-indexing.
┌────────────────────────────────────────────────────────┐
│             STEP 1: SECURE POINT-IN-TIME CATCH         │
│   Export Full Database (.sql) & Zip wp-content Folders  │
└───────────────────────────┬────────────────────────────┘
                            │
                            ▼
┌────────────────────────────────────────────────────────┐
│             STEP 2: CORE DIRECTORY FLUSH               │
│ Wipe Root, wp-admin, wp-includes • Deploy Clean Files  │
└───────────────────────────┬────────────────────────────┘
                            │
                            ▼
┌────────────────────────────────────────────────────────┐
│             STEP 3: EXTENSION REFACTORING              │
│ Delete Inactive Plugins/Themes • Sanitize Uploads Path │
└────────────────────────────────────────────────────────┘
A. Generate an Isolated Server Backup
B. Replace Core Core Files Natively
Do not try to “clean” infected core files manually. Connect to your server using secure protocols (SFTP/SSH) and delete the root files along with the wp-admin and wp-includes directories entirely. Download a fresh, uncompromised copy of the WordPress core software directly from official source repositories and upload it to your server root to guarantee file integrity.
Attackers frequently target vulnerabilities in outdated plugins and themes to establish footholds on your server.
- Clean the Uploads Directory:
The /wp-content/uploads/ path is meant purely for media assets like images and documents. Use the command line or a file manager to search for and delete any /wp-content/uploads/ .php, .js , or hidden execution scripts hiding inside your media folders.
- Reinstall Verified Plugins
Delete all inactive plugins and themes from your server to shrink your security attack surface. For active extensions, delete their folders completely and replace them with fresh copies downloaded directly from verified developers or the official WordPress plugin directory.
3. Restricting Database and Request Parameters
To prevent hackers from re-infecting your site using database backdoors or malicious configuration scripts, your team must enforce strict parameter controls at the server root. Below is a production configuration profile demonstrating how to secure data transactions and lock down core execution routes at the application layer:
<?php
/**
 * Post-Incident Security Hardening Engine
 * Standardized for Sovereign Asset Preservation - WordPressDepartment.com
 */

if ( ! defined( 'ABSPATH' ) ) {
    exit;
}

/**
 * 1. Restrict Application-Layer Write Permissions
 * Disables the built-in theme and plugin editors. Even if an account is
 * compromised, malicious code cannot be injected into system files via the UI.
 */
if ( ! defined( 'DISALLOW_FILE_EDIT' ) ) {
    define( 'DISALLOW_FILE_EDIT', true );
}
if ( ! defined( 'DISALLOW_FILE_MODS' ) ) {
    define( 'DISALLOW_FILE_MODS', true );
}

/**
 * 2. Enforce Secure SSL/TLS Database Routing
 * Enforces encrypted data transport parameters across internal networks,
 * neutralizing credential interception and middleman packet sniffing.
 */
if ( ! defined( 'FORCE_SSL_ADMIN' ) ) {
    define( 'FORCE_SSL_ADMIN', true );
}

/**
 * 3. Neutralize Unauthorized File Executions
 * Simple custom handler designed to block request parsing loops
 * targeting non-standard system executions in media asset zones.
 */
add_action( 'plugins_loaded', function() {
    $request_uri = isset( $_SERVER['REQUEST_URI'] ) ? lowercase_sanitize_uri( $_SERVER['REQUEST_URI'] ) : '';

    // Catch execution attempts aimed at uploads paths
    if ( false !== strpos( $request_uri, '/wp-content/uploads/' ) && false !== strpos( $request_uri, '.php' ) ) {
        status_header( 403 );
        exit( 'Cryptographic Infrastructure Violation Detained.' );
    }
});

function lowercase_sanitize_uri( $uri ) {
    return strtolower( filter_var( $uri, FILTER_SANITIZE_URL ) );
}
4. Passing the Google Security Review
Once your file architecture is entirely clean and you have confirmed your site is free of malware, you must formally ask Google to re-evaluate your domain and remove the red warning screen.
- Return to the Google Search Console and head back to the Security Issues report page.
- Click the blue Request Review action handle.
- Fill out the review request form with precise details. Google’s security engineers reject vague appeals; your message must outline your exact remediation steps:
- We discovered an arbitrary file upload vulnerability in legacy plugin [Name] vX.Y.Z, which allowed an unauthenticated actor to drop a malicious payload file into our media uploads directory.
- We have completely purged the infected directories, replaced our core files with verified original sources, deleted the vulnerable plugin extension layer, and enabled edge firewalls to block exploit signatures.
Once submitted, Google’s automated scanners and manual review teams will audit your site files. This process typically takes between 24 to 72 hours. If your system passes inspection, the red warning screen will be lifted globally, restoring your organic traffic funnels.
Download the 2026 Enterprise Security & Recovery Roadmap
Frequently Asked Questions
Secure Your Core Infrastructure: Schedule a Security Audit
Your digital presence should be a high-velocity conversion pipeline, not an unmanaged security risk that scares away customers. Partner with our enterprise development and security optimization teams to clean up legacy technical debt, harden your system data layers, and protect your brand’s digital growth.